OBS on Linux: How to Stream on Twitch

Against all odds, you decided to stream using Linux.
“Do you like suffering?”
That’s probably what a layperson would say. The surprise is that setting everything up was way simpler than it looks, and keep in mind, I use Arch, btw.
I’ll walk you through a step-by-step on how to configure everything.
OBS
The program we’re going to use to stream is called OBS. It’s open source and, thankfully, it has packages for Linux. In the end, good always defeats evil.
To follow this tutorial, you should download the Flatpak version. If you’re not very familiar with Flatpak, the idea is simple: it works as a “universal” app packaging system. This way, we make sure we’re using the same OBS version regardless of the distro.
You can download and install it directly from the OBS page on Flathub.
After installing it, you should see something like this:
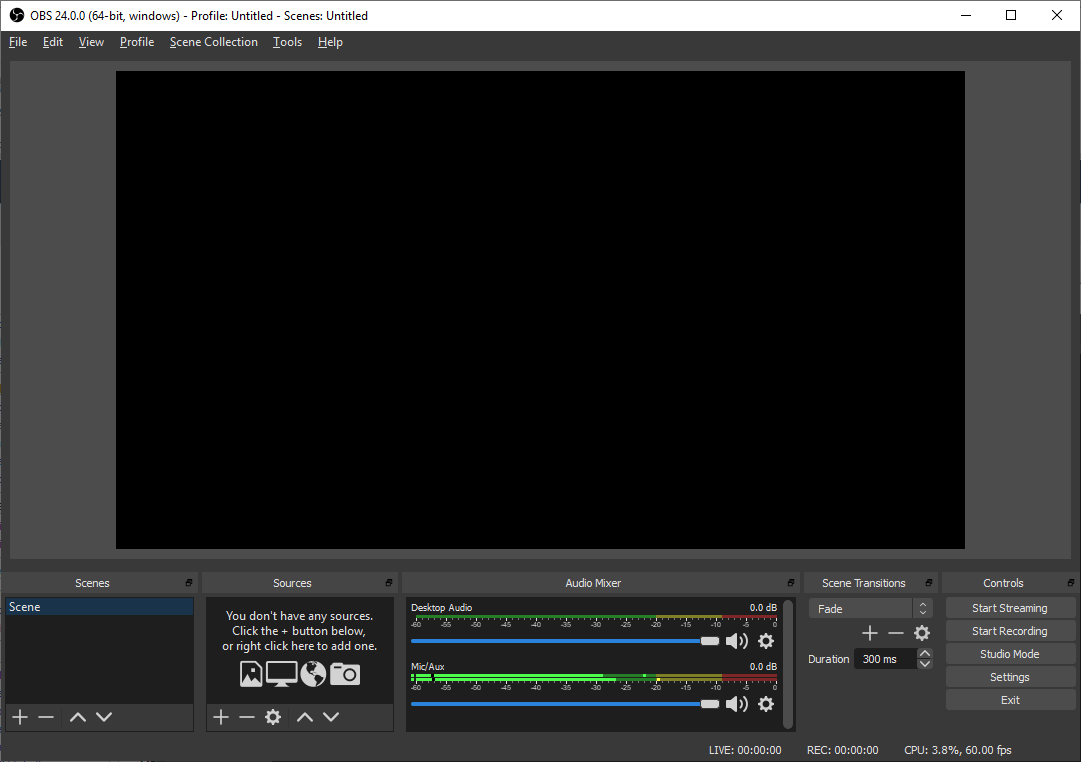
Alright, now let’s separate the men from the boys.
Flatseal
OBS doesn’t work very well on Wayland, some features only work on Xorg.
If you’re not very familiar with what that means, think of it like this: Wayland and Xorg are graphical layers. They’re what turn the computer into something visual. Windows, buttons, screens, and so on.
First, let’s find out whether you’re on Xorg or Wayland. Run this in your favorite terminal:
echo $XDG_SESSION_TYPE
If it’s Xorg, you don’t need to do anything, you can skip this section.
If you’re on Wayland, we need to install an app called Flatseal.
Flatseal allows you to review or modify permissions for Flatpak applications. Since our OBS is a Flatpak app, we can change one of its permissions: Wayland windowing system.
This option is enabled by default. You need to disable it.
It should look something like this:
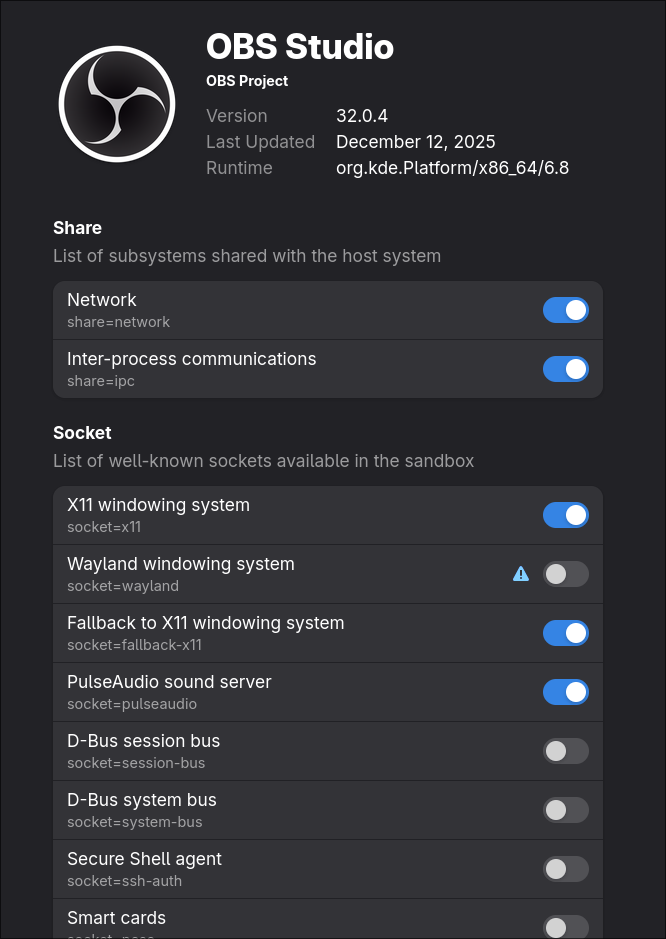
Good. Now let’s move on to audio configuration.
PipeWire Audio
There’s a feature in OBS on Windows and macOS that still isn’t natively available on Linux: the ability to separate audio per application. This gives you much more control over your stream’s sound.
Fortunately, a user named dimtpap created a plugin that implements this feature. The repository is called obs-pipewire-audio-capture and you just need to follow the installation tutorial in the repository itself.
After that, the option “Application Audio Capture” will be available in your OBS.
We’re almost done. There’s just one more step.
Next step
I lied. There is no next step.
At least not for OBS configuration. If you made it this far, you can already follow any OBS tutorial made for Windows or macOS.
Now it’s on you, my friend.
You got this. I believe in you.
And if you want (or can), follow me on Twitch.
My channel is called Jhocore.